Sunday, May 26, 2019
How to create Custom SMOKE BRUSH in GIMP
Hi Everyone, In this video I'm gonna show you how to create a Custom Smoke in GIMP.
Steps:
1. Open GIMP
2. Create a New Image (White Background)
3. Draw a the Spiral lines with both Black and Gray Color using brush tool according to the shape of the Smoke you need
4. Use iWarp Option to Move, Shrink, Grow and Swirl the Smoke
5. Use Level to adjust
6. Change the Image mode to Grayscale
7. Export it as .gih in C:/Users/(yourcomputerusername)/.gimp-2.8/brushes
8. Close and Reopen the GIMP you will find the Newly created Brush.
Thanks for watching. Thumbs up, Share and Subscribe
Subscribe to:
Post Comments (Atom)
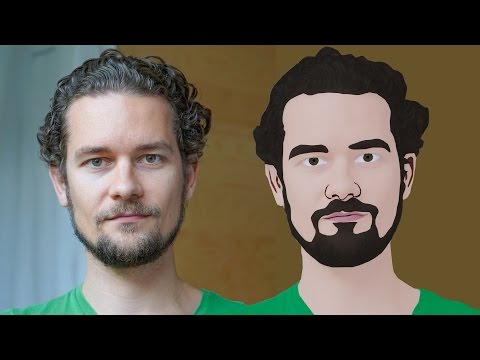
GIMP Cartoon Effect Tutorial
Hi Everyone, In this video I'm gonna show you How to create a Cartoon Version of Yourself or Someone using the Open Source Software...
-
Make your Image sing and vibe for a Song using an Android App Hi Everyone, This is Daniel from f&D. In this video, We are going to see ...
-
Photopea - Neon Text Effect Tutorial Hi Everyone, In this video I'm gonna show you How to make Neon Text Effect in Photopea. This phot...


No comments:
Post a Comment