Photopea Tutorial - Glitch Effect
Hi Everyone, This is Daniel from f&D. In this video, We are going to see How to create a Glitch Effect in Photopea Online Editor.
Note:
Photopea is the Browser Alternative for Photoshop. Hence you can try this same method in Photoshop as well.
Steps:
1. Open Photopea
2. Drag and Drop your Image. Sample Image
3. Duplicate the Image and Desaturate
4. Again Duplicate the Desaturated Image
5. Go to Blending Option and uncheck the Red Channel
6. Move the Layer to the left or right to create RGB Split Effect
7. Add the Glitch Lines and make the Blend Mode to Overlay and Reduce the Opacity to 50
8. Add Glitch Effect using Rectangle Select Tool and Move Tool
That's it. Thanks for Watching
Photopea Pencil Drawing Effect - https://youtu.be/ZvSwxpS3wLU
Subscribe us:
http://bit.ly/Subscribe-fandD
Subscribe to:
Post Comments (Atom)
GIMP Cartoon Effect Tutorial
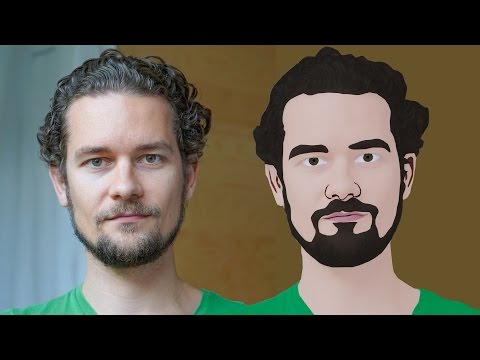
Hi Everyone, In this video I'm gonna show you How to create a Cartoon Version of Yourself or Someone using the Open Source Software...
-
Make your Image sing and vibe for a Song using an Android App Hi Everyone, This is Daniel from f&D. In this video, We are going to see ...
-
Photopea - Neon Text Effect Tutorial Hi Everyone, In this video I'm gonna show you How to make Neon Text Effect in Photopea. This phot...


No comments:
Post a Comment