Photopea Tutorial - Frosted or Blurry Glass Effect
Hi Everyone, This is Daniel from f&D, In this video I'm gonna show you How to create a Glass Morphism or Blurry Glass Effect or simply Glass Effect in Photopea for free.
Note:
Photopea is the free browser Alternative for Photoshop. Hence you can try this same method in Photoshop as well.
Steps:
1. Drag and Drop your Background in Photopea.
2. Duplicate the Image and add gaussian blur to it.
3. Add a Shape and move it behind the blurred layer
4. Clip the Blur layer to the Shape
5. Add Blending options like Stroke, Inner Glow, Gradient Overlay and Shadows to the Shape Layer
That's it.
Thanks for Watching
Also Watch:
Teal and Orange Look in Photopea: https://youtu.be/jK2sLQgu5-k
Subscribe us:
http://bit.ly/Subscribe-fandD
Subscribe to:
Post Comments (Atom)
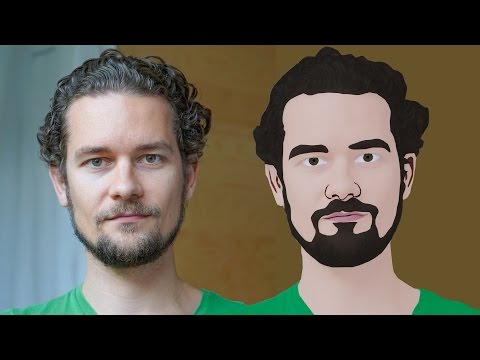
GIMP Cartoon Effect Tutorial
Hi Everyone, In this video I'm gonna show you How to create a Cartoon Version of Yourself or Someone using the Open Source Software...
-
Make your Image sing and vibe for a Song using an Android App Hi Everyone, This is Daniel from f&D. In this video, We are going to see ...
-
Photopea - Neon Text Effect Tutorial Hi Everyone, In this video I'm gonna show you How to make Neon Text Effect in Photopea. This phot...


No comments:
Post a Comment