Wednesday, August 14, 2019
GIMP Tutorial - Bidirectional illusion face | Photoshop Alternative | #104
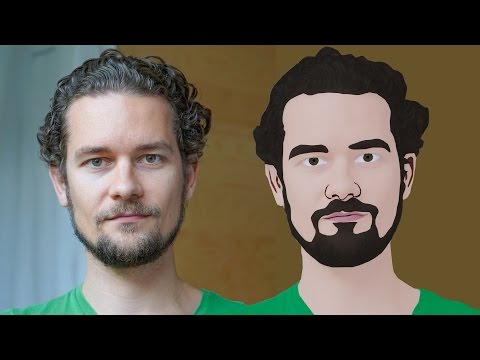
Hi Everyone, This is Daniel from f&D, In this video I'm gonna show you How to create Bidirectional Illusion Face Effect in GIMP
Note:
GIMP is the Perfect Alternative for Photoshop. Hence you can try this same method in Photoshop as well
Needed: 1. Straight looking Photo 2. Side looking Photo
Steps:
1. Open GIMP and drag and drop your Straight looking image
2. Remove Background
3. Add Side looking Image
4. Also Remove the Subject instead of background
5. Adjust the Side looking image infront of the Straight looking image to get the illusion effect
6. Grab Fuzzy Select Tool and Select the Transparent area of the Side looking Image
7. Add Layer Mask with Selection to the Straight looking Image
8. Add a Background
That's it.. This is way you can create the Bidirectional Illusion Face Effect.
Thanks for Watching
If you like this video, Give thumbs up and Subscribe this channel for more Future GIMP Tutorials
Also Watch:
How to create Rodilius(Fractalius) Effect in GIMP: http://bit.ly/rodilius_effect
Subscribe us:
http://bit.ly/Subscribe-fandD
Subscribe to:
Post Comments (Atom)
GIMP Cartoon Effect Tutorial
Hi Everyone, In this video I'm gonna show you How to create a Cartoon Version of Yourself or Someone using the Open Source Software...
-
Make your Image sing and vibe for a Song using an Android App Hi Everyone, This is Daniel from f&D. In this video, We are going to see ...
-
Photopea - Neon Text Effect Tutorial Hi Everyone, In this video I'm gonna show you How to make Neon Text Effect in Photopea. This phot...


No comments:
Post a Comment