Wednesday, May 29, 2019
Disintegration/ Dispersion/ Pixel Explosion Effect - GIMP Tutorial
Hi Everyone, In this video I'm gonna show you How to create Dispersion/ Disintegration/ Pixel Explosion Effect in GIMP
Note:
GIMP is the ALternative for Photoshop. Hence You can also try this same method in Photoshop as well.
Steps:
1. Open an Image
2. Draw the Path around the Subject using Path Tool
3. Make the path into Selection
4. Cut the Selection
5. Paste as New Layer
6. Create a New White Layer for Background
7. Duplicate the Subject layer (Warp Layer)
8. Place it Between the Subject and Background layer
9. Go to Filter - Distorts - iWarp
10. With Move tool distort the Image
11. Add Layer Mask with Black for Warp Layer
12. Add Layer Mask with White for Subject Layer
13. Select Paint Brush
14. Choose any Splatter Brush (Splats 01 in this tutorial)
15. Brush the edges in Subject Layer Mask with Black as the Foreground Color to remove the Edges
16. Make the Foreground Color as White
17. Brush in the region to get the distorted image back in Warp Layer's Layer Mask
That's it.
Thanks for Watching. Thumbs up, Share and Subscribe
Subscribe to:
Post Comments (Atom)
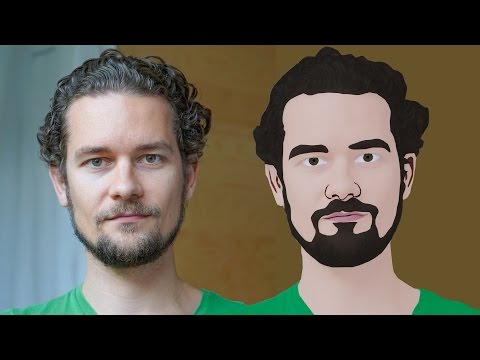
GIMP Cartoon Effect Tutorial
Hi Everyone, In this video I'm gonna show you How to create a Cartoon Version of Yourself or Someone using the Open Source Software...
-
Make your Image sing and vibe for a Song using an Android App Hi Everyone, This is Daniel from f&D. In this video, We are going to see ...
-
Photopea - Neon Text Effect Tutorial Hi Everyone, In this video I'm gonna show you How to make Neon Text Effect in Photopea. This phot...


No comments:
Post a Comment